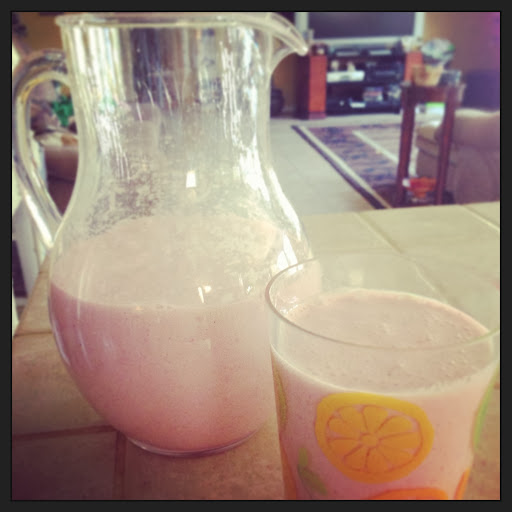
This is the first soap I did that made me nervous. Mine, this time, was oils I wanted to use and my own "recipe". So it had never been tested or tried by me before. I had always made a soap recipe off Andrea's site Frugally Sustainable and hers was definitely one that when I poured I needed to do it quick because it hardened fast. I don't know if I brought Andrea's too far to trace or what, but that was always the case. This one poured like pudding and stayed softer longer. I posted my fears about the fact I thought I had ruined my soap on my Facebook site and ended up having a really supportive follower, Patrice, walk me through the soap making process, checking what I did, and assured me I was correct. So I waited, and low and behold it started to harden and turn into an awesome bar of great soap that I love. I am so thankful for this community of people that we have that encourages, teaches and helps us all become more self reliant and able to make things healthier and with less junk!
Once you get that the soap making process, even with the lye, can be easily done and doesn't need to be as scary as it sounds it becomes fun!! It's the Lye that always makes me nervous. I do the whole process outside in my rocked area to keep the fumes and any spills out of the house. That has definitely helped one part of what scares me about lye. Also, the fact that Patrice, who has studied under a master soap maker, helped me to see that letting the process cure, like it's supposed to for 4-6 weeks, I don't have to think about getting lye burns from it not completing the saphonation process. Most soap "recipes" out there call for keeping and using one bar of soap right away, the problem with that is the reason you let it sit is to allow the chemical process that happens with the lye and fats to finish. It's not done at trace, that is actually only the beginning, so if you do not allow that lye to finish processing for the full 4-6 weeks then you run the risk of actually having lye still in the soap and causing irritations and burns to your skin.
Once that was out of the way I just always double check that I am running anything I make through a lye calculator prior to making. Even if they have the whole thing laid out and they have done it successfully, I run it again to assure that I am correct on measurements and have the correct fat:lye ratio to complete the chemical process and make the end result I want. Here is a link to the lye calculator I use, or they now have an app for that (I do see it has lower ratings so not sure if that's a viable option).
The reason I made my own combination was because I wanted a moisturizing soap that had the oils I wanted and a lathering effect that was more than what I was using. After doing some research I came up with this combination and so far, like I said, I love it. I am going to give you the "recipe" but again, I always encourage you to not take my word but PLEASE run this through the calculator on your own so that you ensure I haven't made an error somewhere in my calculations or even when writing this. While I double check, I am still human.
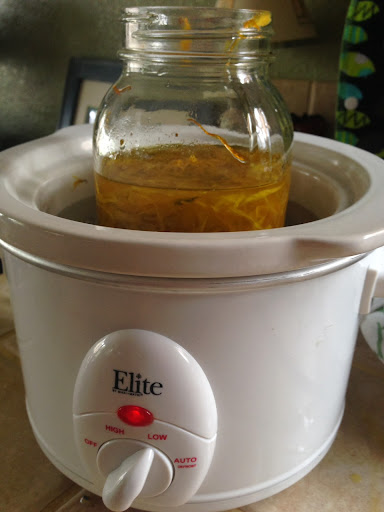
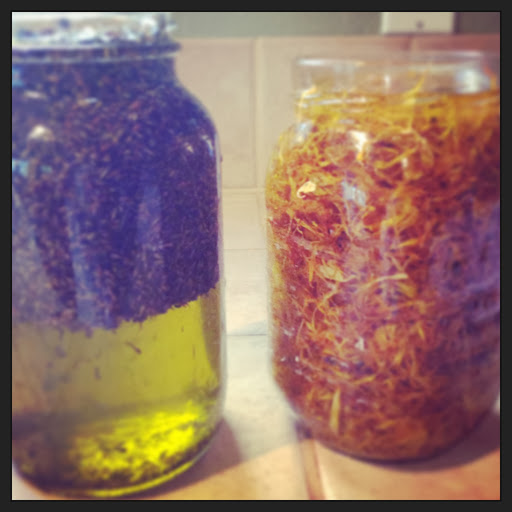
I used infused olive oil with lavender and one with calendula, both for their healing properties. I did this the night before by placing calendula flower petals (dried) and one with lavender flowers (dried) into a canning jar then covered with olive oil and placed in a small crock pot with water added around the jar on low to gently infuse the oils with both of the flowers. I left them in there over night. I then took and strained the flowers out and used the oils in the soap. Calendula has been used for inflammation, viruses and bacteria and that along with some of the same properties of germ fighting in lavender were why I did that to add a little more antibacterial properties to my soap.
Make sure when you are using and working with the lye that you have proper safety equipment, gloves and goggles, to protect your skin and all equipment that comes in contact with the lye is put into a sink or rinse area with water and vinegar to ensure you get the acid neutralized. When working with lye ensure that you are doing so in a well ventilated area to avoid the fumes produced with you add the lye to the water (NEVER ADD WATER TO LYE, that will cause a chemical reaction that will cause the water to explode back out and can cause serious burns, especially to your hands and face if you are close to the bowl). If you splash lye water onto your skin immediately rinse with the vinegar water to neutralize, and get medical help if needed for severe burns. I recommend using a glass bowl to put the water in and know that once you pour the lye the chemical process will cause the bowl to become hot. Make sure you have something to carry the bowl with so you don't burn yourself. I have found my rubber gloves insulation enough but others may not, just be aware. I usually mix and leave it outside to cool down a bit so it becomes the same temperature as the oils I melt down.
Here are the ingredients for this soap;
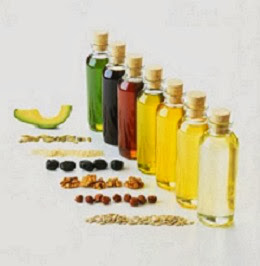
- 10.5 oz. Calendula infused Olive oil *
- 10 oz. Lavender infused Olive oil *
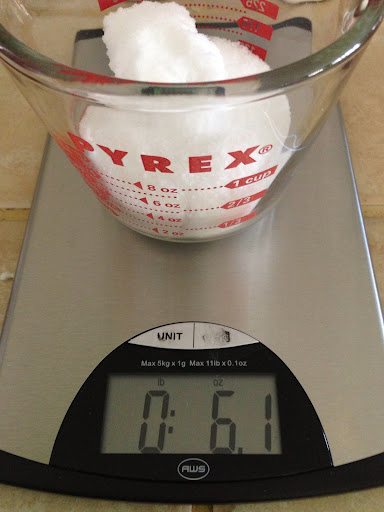
- 12 oz. Coconut oil (helps produce the lather I wanted)
- 4 oz. Shea Butter
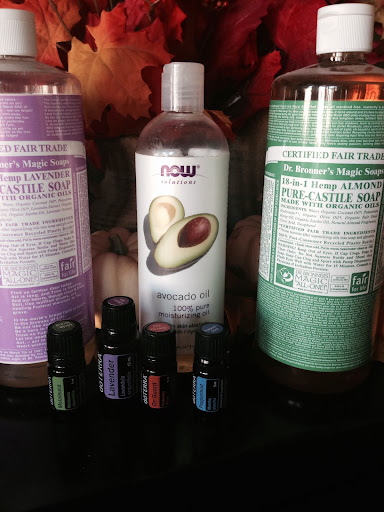
- 4 oz. Avocado oil
- 5.61 oz. Lye
- 13 fl.oz. water
- About .5-1 oz. of essential oils can be added for scent and beneficial properties but are not necessary
* if you don't want to infuse oils just use 20.5 oz Olive oil
First off I always get my sink filled with vinegar and water... Just FYI it truly takes a LOT of vinegar to neutralize lye solutions. I have usually not added as much as it would truly take to fully neutralize the lye. I still do it more for my own peace of mind but I thoroughly wash all my equipment after using it and my hands and arms to ensure I don't have any small lye crystals on my arms. I, personally, have never had an issue with making sure I neutralize and remove all lye from the equipment I use. That being said I encourage people to look up a solution that will best fit their sink, or wherever they are washing equipment, to make sure you have an adequate solution to neutralize the acid. There is a lot of differing opinions on what is the best method for cleaning soap making equipment.
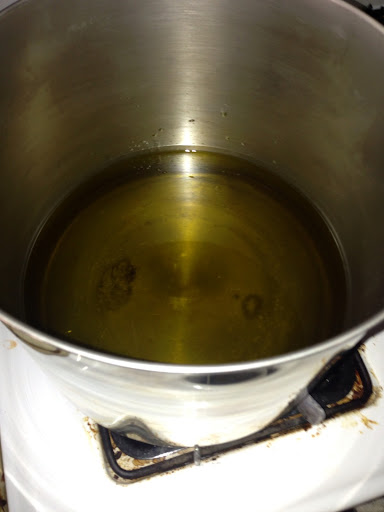
Next I ready my lye solution outside so it cools before I need it. How long I leave it outside definitely depends on the temperature and weather. I check it usually while my oils are melting.
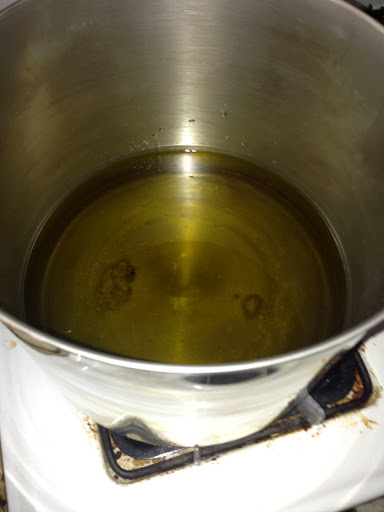
Then I start measuring out oils and get them into a big stock pan. I learned early that something a friend and I did, during the adding lye part, caused it to boil over onto my stove, LESSON LEARNED TO USE A BIG POT CUZ THAT WAS A MESS!! I use a scale and make sure the measurements are as exact as I can make them. Then I put it on the stove on low to let all the oils slowly melt so I don't burn them.
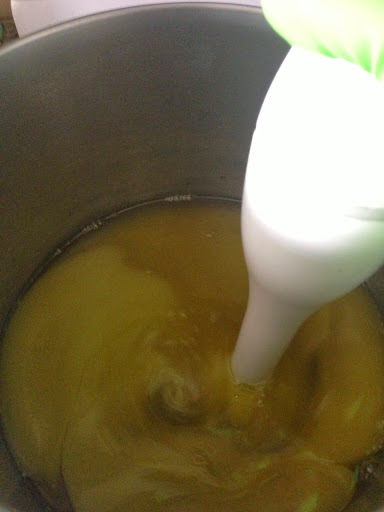
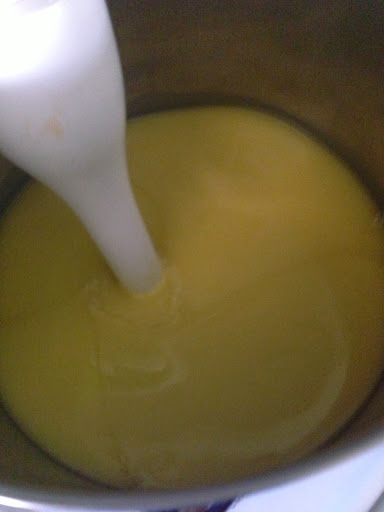
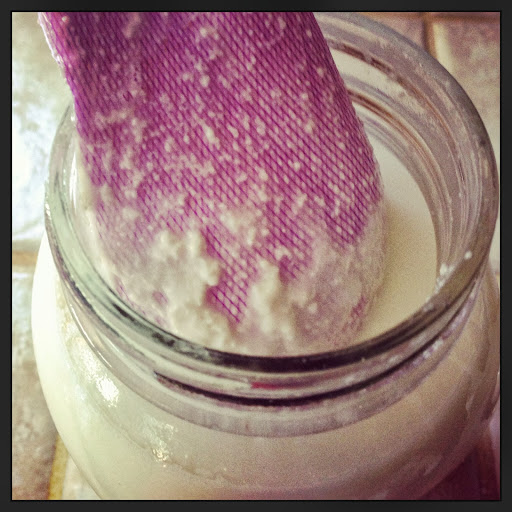
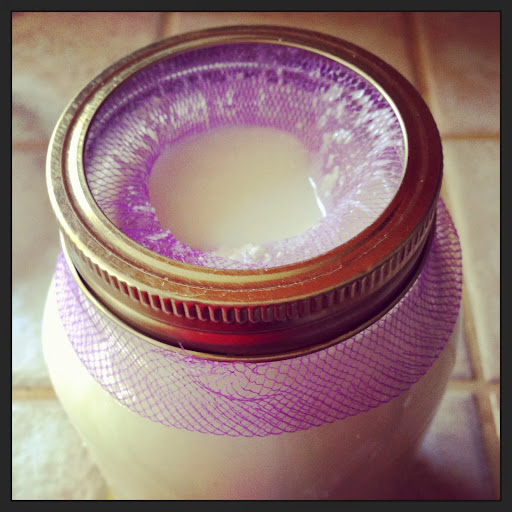
Once my oils are melted I add the lye solution and then use a hand mixer to mix all the oils together with the lye and bring it to trace. Trace is when it starts to get really "cloudy" and starts to thicken to a runny pudding like state. Once you have achieved this you can start pouring into molds. Personally once I reach that state I do mix just a little bit more to ensure I have all the oils mixed with the lye. You have now started the saphonation process that is going to make your soap actual soap.
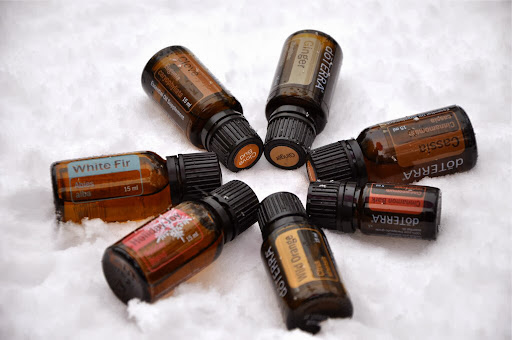
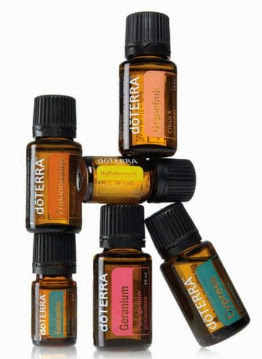
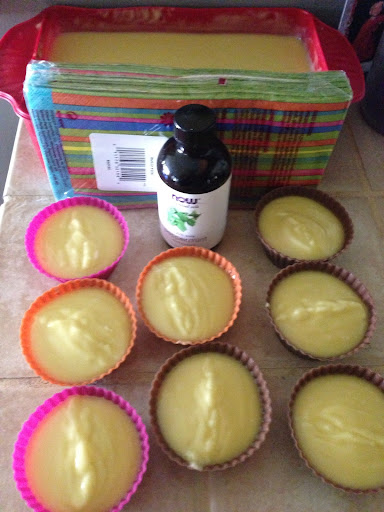
Then I added lavender essential oils to help strengthen the antibacterial properties and enhance the already lavender infused oil scent. I added almost an oz. of lavender to the batch. I never use perfumes or anything that doesn't offer a natural quality to my soap... Kinda would defeat the purpose of why I make my own in my book. Then pour directly into molds or a box shaped mold covered in wax paper.
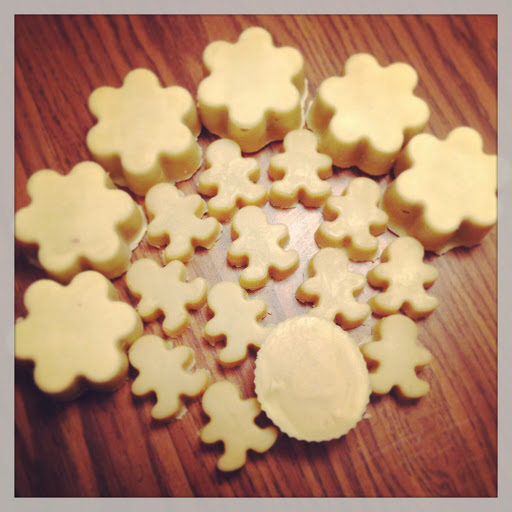
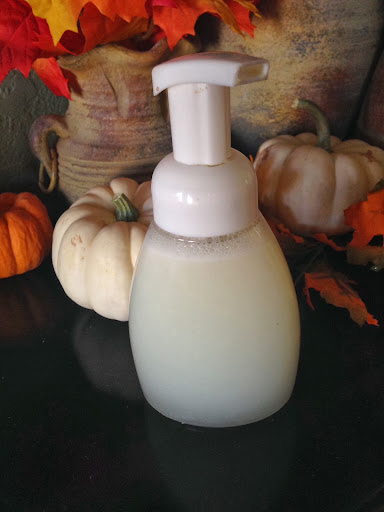
I then let my molds sit for 24-48 hours before I unmold them and set them on a rack to finish processing for 4-6 weeks. It is a tough wait but SO worth it when it's done.
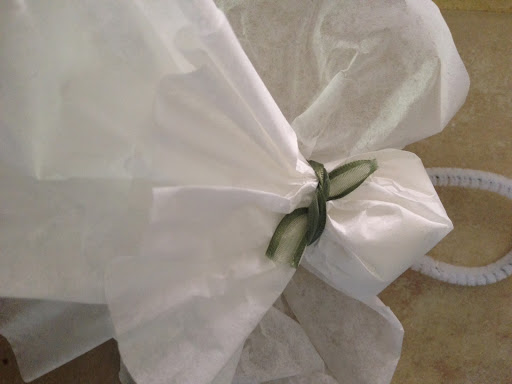
I hope you enjoy this soap as much as I have been, this also makes a great gift!! I am doing some soon that has holiday scented oils to give as Christmas gifts as friends.
As always here are some links to the products I used in this post...
Disclaimer: Please understand that this information is for educational purposes only. I am a mom, I am not a doctor, I enjoy passing on the knowledge I have learned in doing these types of projects and through my research. The statements made here have not been approved by the Food and Drug Administration and they are not intended to diagnose, treat or cure or prevent any disease. Don’t take my word for it…you should always engage conventional wisdom and consult with your medical professional to determine potential drug interactions and safety of use. Always when using essential oils for a medical condition or if on prescribed or over the counter drugs, seek advice from a medical professional (DR./PA/NP/Naturopath/pharmacist) on whether the oils will cause potential adverse reactions.
These practices are what work for me and my family, if you chose to take and use them I encourage you take my research and do some of your own prior to using the tips I give. While I do a lot of research when putting these posts out it generally fits into what I would do with and for my family. If you have specific issues, allergies or conditions these practices may not work or may be detrimental to what you are intending to do for yourself. Again, I encourage wisdom and discussions with your healthcare provider to determine safe use of all posts that I provide that can be used for health reasons.
Also know most of my posts contain links to products I have an affiliate association with. As a blogger I don't make much (if anything at all) and when you use links that any blogger, not just me, posts you help us to continue to buy supplies to provide fun posts with ideas and recipes that can be used. None of the links I post cost you any more because you have used my link, but do benefit the posts I do. We are thankful that affiliate sites have chosen to use their marketing budgets to help out those of us who love doing what we do and chose this way to market versus bigger ad campaigns. This is definitely a great way to support more local businesses/venues!!!


 So change is good, scary to think I have all this going and don't know what will come of it all, but at the same time, like this whole blogging and putting myself out there stuff, it's an adventure!!! I love a good adventure, a challenge, anything to push myself to go further and outside my comfort zone. It makes life interesting and on top of that, shows my kids that not everything is easy, sometimes you have to push. It's ok to fail, it's not ok to not try because of fear of failure.